Taking care of your skin is crucial for maintaining a healthy and glowing complexion. While professional facials can be luxurious, they can also be quite expensive. Fortunately, you can indulge in a relaxing and rejuvenating facial experience right in the comfort of your own home.
With a few simple ingredients and the right techniques, you can create a spa-like atmosphere and give yourself a DIY facial that will leave your skin feeling refreshed, nourished, and radiant.

Step 1: Gather Your Supplies
Before you begin, make sure you have all the necessary supplies on hand. Here’s what you’ll need:
- A clean, soft washcloth or facial towel
- A bowl of warm water
- A headband or hair clips to keep your hair out of your face
- Your favorite facial cleanser or a gentle, natural cleanser like honey or yogurt
- A facial steamer (optional, but helps open pores)
- Your favorite facial mask or a homemade mask (more on this later)
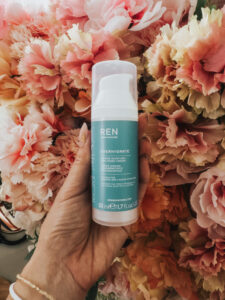
- A moisturizer or facial oil suited for your skin type
- Cotton pads or rounds
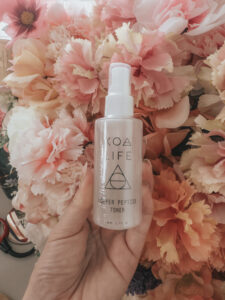
- Toner or rose water (optional)
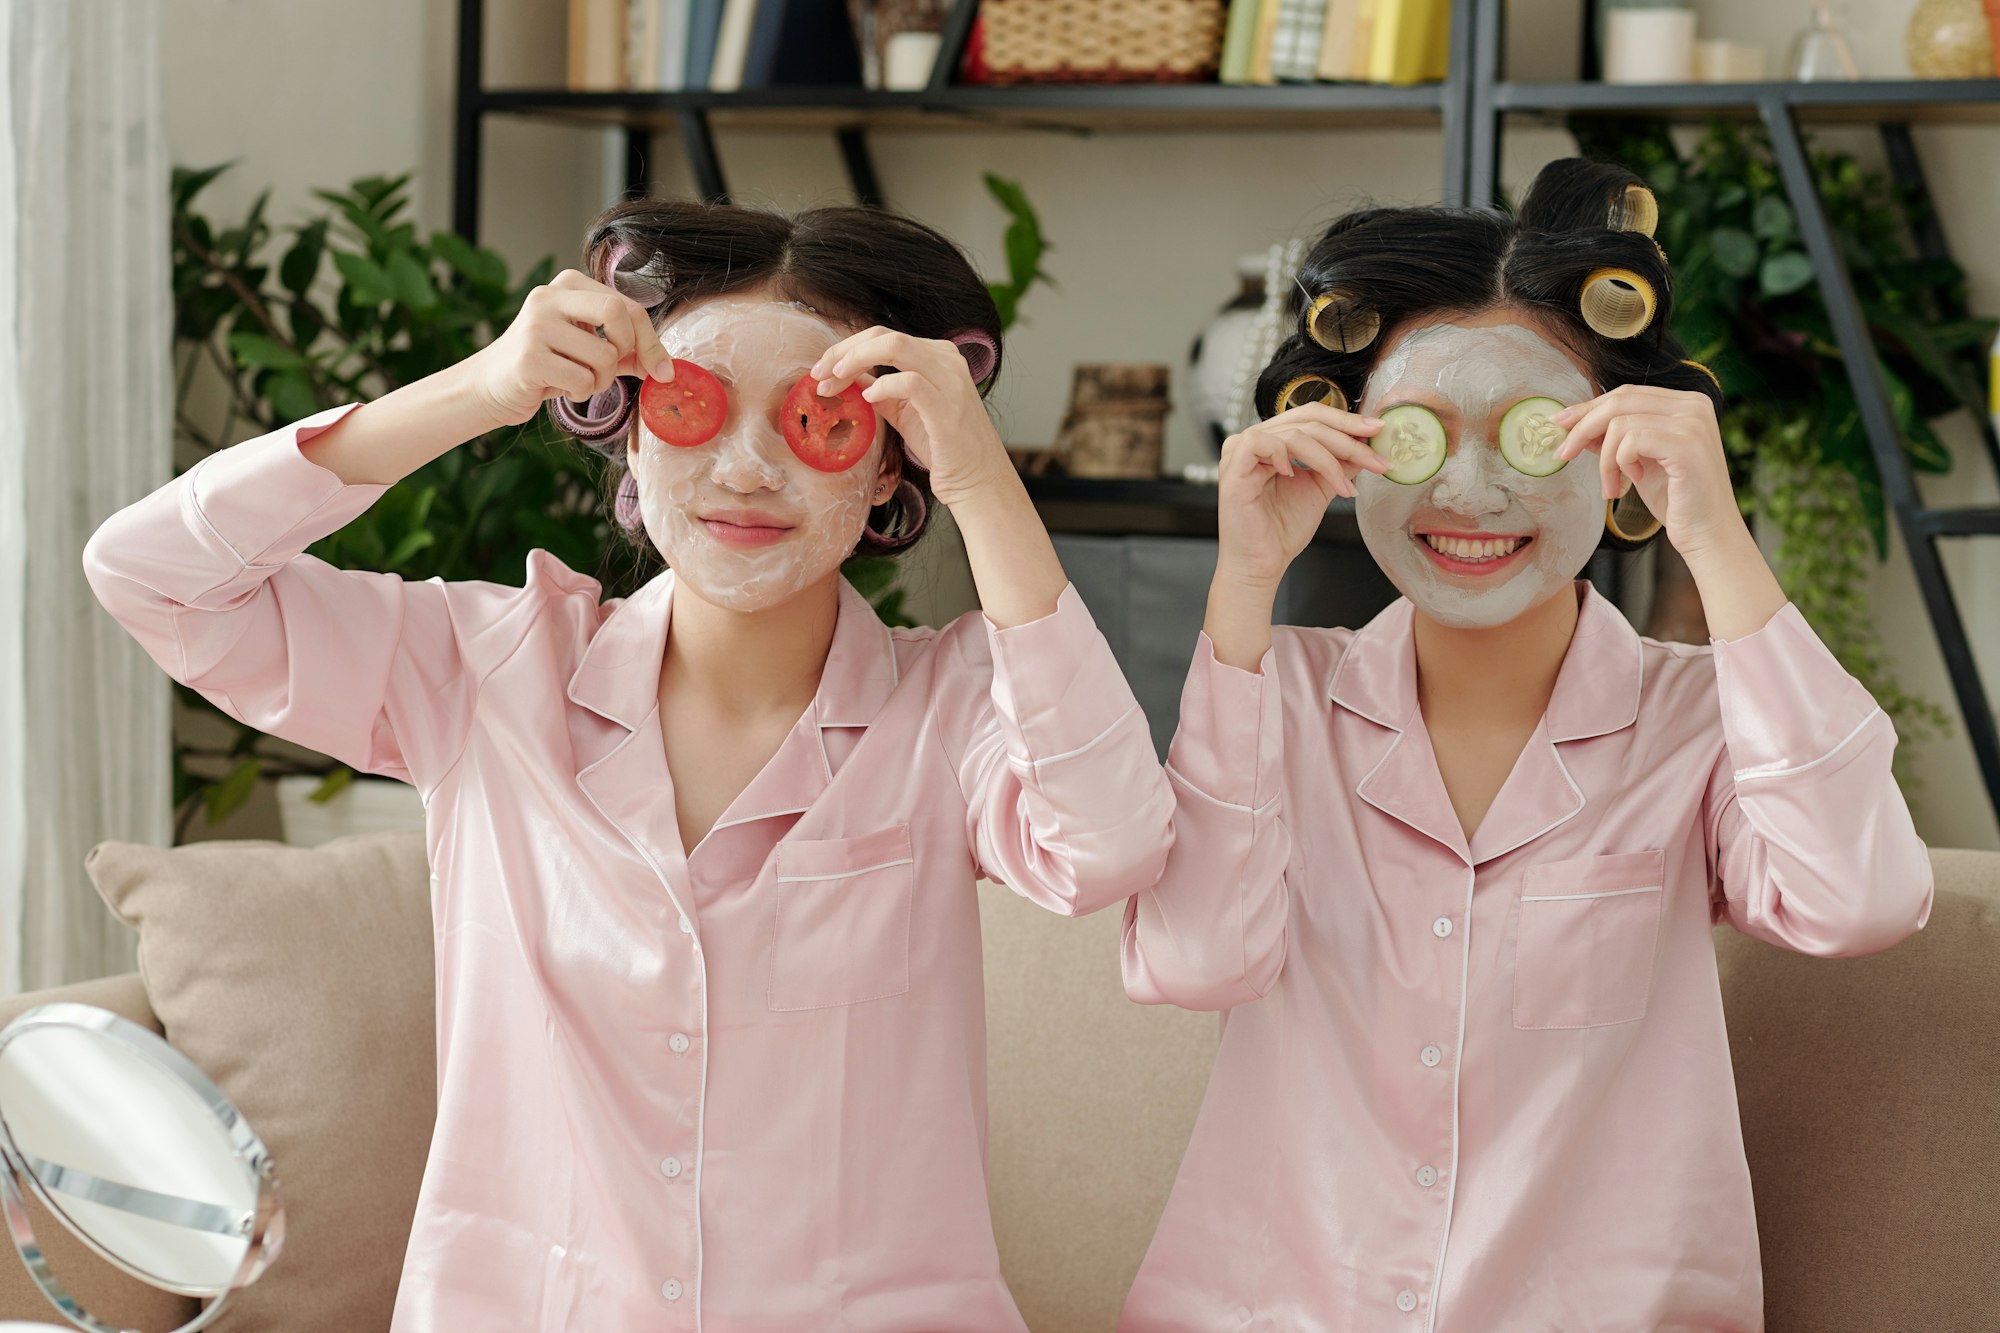
- Cucumber slices or tea bags for the eyes (optional)
Step 2: Create a Relaxing Ambiance
Setting the mood is crucial for a truly relaxing facial experience. Dim the lights, light a few scented candles, and play some soothing music in the background. This will help you unwind and get into a state of tranquility. You can even add a few drops of essential oils like lavender or bergamot to your warm water bowl for a spa-like aroma.

Step 3: Cleanse
Start by cleansing your face to remove any makeup, dirt, or impurities. Dampen your washcloth with warm water and gently massage your cleanser onto your skin using circular motions. Avoid scrubbing too hard, as this can irritate your skin. Rinse thoroughly with warm water, and pat your face dry with a clean towel.

Step 4: Steam (Optional)
If you have a facial steamer, now is the time to use it. Steaming your face helps open up your pores, allowing for deeper cleansing and better absorption of the products you’ll apply later. If you don’t have a steamer, you can create a DIY version by boiling a pot of water, removing it from heat, and carefully leaning over the pot with a towel draped over your head to trap the steam.

NanoSteamer
- 3-in-1 Nano Ionic Facial Steamer with Precise Temp Control – Humidifier – Unclogs Pores – Blackheads – Spa Quality
Step 5: Exfoliate
Exfoliation is an essential step in any facial routine as it helps slough off dead skin cells, revealing a brighter and smoother complexion. You can use a store-bought exfoliating scrub or make your own by mixing equal parts sugar and honey or ground oatmeal and yogurt. Gently massage the scrub onto your damp skin using circular motions, avoiding the delicate eye area. Rinse with warm water and pat dry.

Step 6: Apply a Face Mask
Face masks are the highlight of any facial experience, and there are countless options to choose from, both store-bought and homemade. For a hydrating mask, try mashing up half an avocado and mixing it with a tablespoon of honey. For a clarifying mask, mix equal parts bentonite clay and apple cider vinegar. For a soothing mask, blend cucumber and aloe vera gel.
Apply your chosen mask evenly over your face, avoiding the eye area. Leave it on for the recommended time, usually 10-20 minutes, and relax. You can place cucumber slices or cooled tea bags over your eyes to reduce puffiness and dark circles.

Step 7: Rinse and Tone
Once your mask has worked its magic, remove it with warm water and a washcloth. Gently pat your skin dry and follow up with a toner or rose water to help restore your skin’s pH balance and tighten pores. Simply soak a cotton pad with your toner of choice and sweep it across your face, avoiding the eye area.

Step 8: Massage
Facial massages are not only incredibly relaxing but also beneficial for promoting lymphatic drainage, reducing puffiness, and enhancing blood circulation. Using your fingertips, gently massage your face in upward and outward motions, starting from the center and working your way outwards. Pay special attention to areas like the jawline, cheeks, and forehead.

Step 9: Moisturize
The final step in your DIY facial is to lock in all the goodness with a nourishing moisturizer or facial oil. Choose a product that suits your skin type and apply it generously to your face and neck. Gently massage it into your skin using upward motions for optimal absorption.

Step 10: Relax and Enjoy
After your facial, take a few moments to relax and bask in the glow of your radiant skin. You can sip on a warm cup of herbal tea or simply lie back and enjoy the serenity of your at-home spa experience.

Additional Tips and Tricks for a DIY Facial at Home
- Consistency is key: For best results, aim to give yourself a DIY facial once or twice a month.
- Listen to your skin: Pay attention to how your skin reacts to different ingredients and adjust your routine accordingly.
- Incorporate extras: For an even more luxurious experience, consider adding extras like a face roller, gua sha tool, or even a DIY lip scrub.
- Hydrate from within: Remember to drink plenty of water before and after your facial to keep your skin hydrated and glowing.
Giving yourself a DIY facial at home is not only a cost-effective way to pamper your skin but also a wonderful opportunity to practice self-care and indulge in some much-needed relaxation. By following these simple steps and experimenting with different natural ingredients, you can create a personalized facial experience tailored to your skin’s unique needs. So, light those candles, put on some soothing tunes, and get ready to treat yourself to a rejuvenating at-home spa day!