Achieving a flawless makeup base is the foundation (pun intended!) of any great makeup look. Whether you’re going for a natural, everyday look or something more dramatic for a special occasion, the key to success lies in how you prep and apply your base makeup. While makeup trends may come and go, a smooth, even complexion is timeless. In this guide, we’ll walk through each step, from prepping your skin to setting your final look, to help you create that flawless base everyone strives for.
1. Prepping Your Skin
One of the most crucial steps to achieving a flawless makeup base is to ensure your skin is well-prepped. A smooth, hydrated surface helps makeup glide on evenly and last throughout the day. Here’s how to get your skin ready:
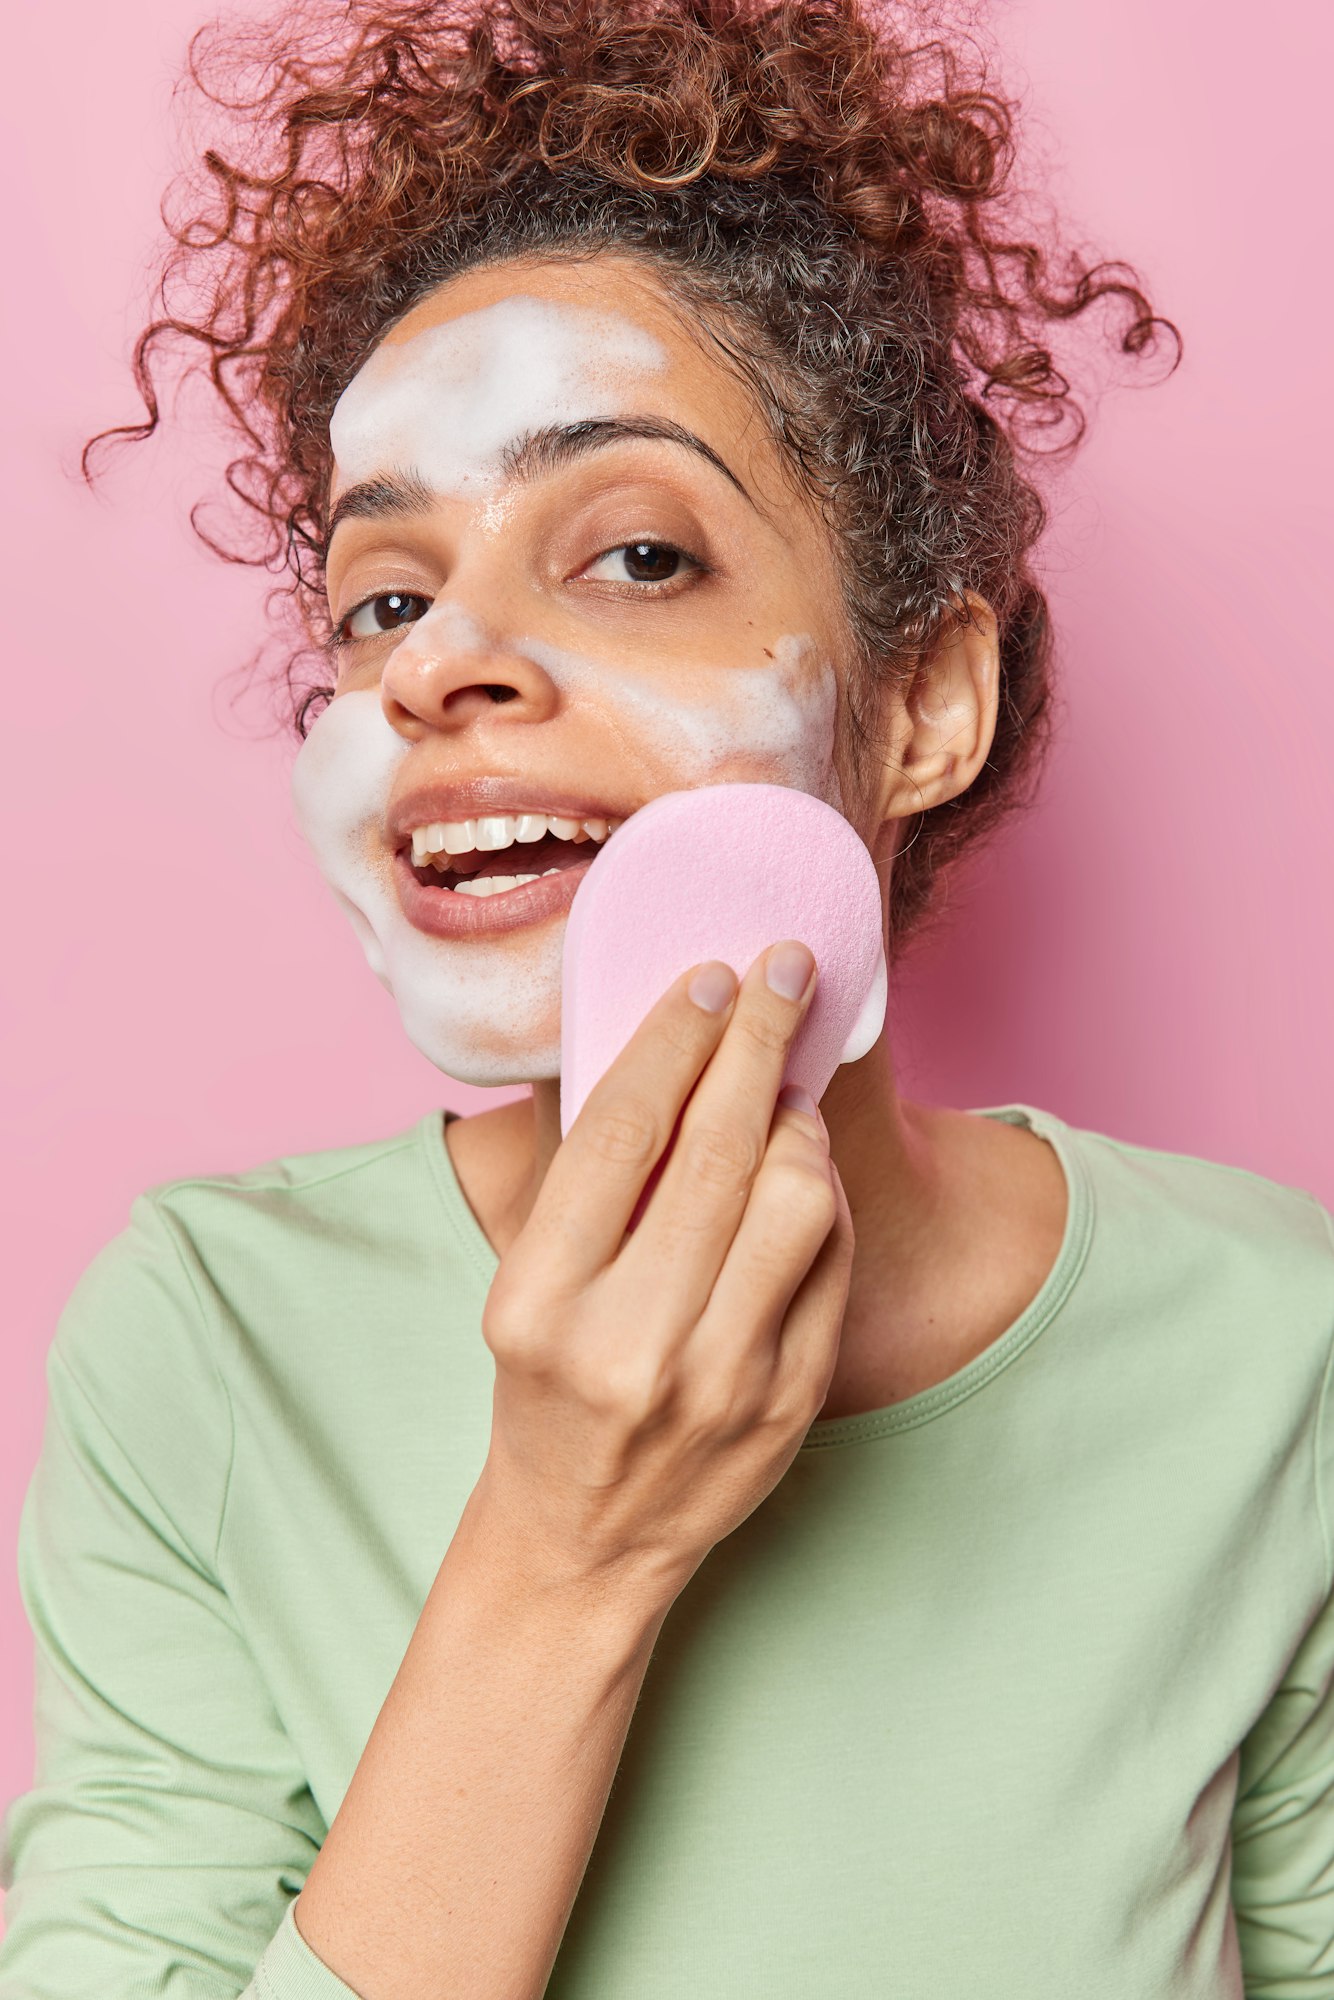
Cleanse
Always start with a clean canvas. Use a gentle cleanser that suits your skin type—whether oily, dry, or sensitive. Cleansing removes dirt, oil, and any leftover makeup from the previous day. Proper cleansing is essential because leftover residue can make your foundation look cakey or uneven.

Exfoliate (but not every day!)
Exfoliation helps remove dead skin cells, leaving you with a smooth surface. But be careful not to overdo it! Depending on your skin type, exfoliating two to three times a week should be enough. For dry or sensitive skin, a gentle exfoliant is best, while those with oily or combination skin may benefit from a stronger formula.
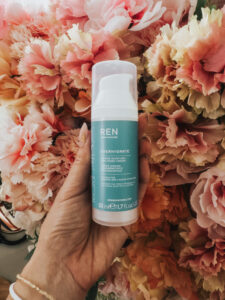
Moisturize
Moisturizer is a must for everyone, regardless of skin type. It hydrates your skin, allowing makeup to sit better and preventing it from settling into fine lines or dry patches. Choose a moisturizer that suits your skin’s needs—a lightweight, oil-free one for oily skin and a richer cream for dry skin. Make sure to give your moisturizer a few minutes to fully absorb into your skin before moving on to the next step.

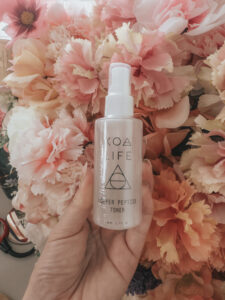
Primer: The Key to Longevity
Primer acts as a barrier between your skin and your makeup. It smooths out pores and fine lines and helps makeup last longer. Depending on your skin type, there are different primers to consider:
- Mattifying primers for oily skin help control shine.
- Hydrating primers add moisture to dry skin.
- Pore-filling primers help to create an even texture, blurring larger pores.
Apply your primer after your moisturizer has had time to absorb. Focus on areas where your makeup tends to wear off quickly, such as the T-zone (forehead, nose, and chin).
2. Choosing the Right Foundation
Your foundation is the core of your makeup base, so it’s important to choose one that works for your skin type, tone, and coverage preference. Here are a few things to consider when selecting the right foundation:
Type of Foundation
There are several different types of foundation to choose from, each with its own benefits:
- Liquid foundation is the most versatile and works for almost all skin types. It’s easy to blend and can provide buildable coverage.
- Powder foundation is great for oily skin as it helps absorb excess oil. However, it can cling to dry patches, so those with dry skin might want to avoid this option.
- Cream foundation offers fuller coverage and is ideal for dry or mature skin. It provides a dewy finish but may feel too heavy for oily skin.
- Stick foundation is great for on-the-go touch-ups and provides buildable coverage. However, it can be a bit thick, so it’s better for those looking for more coverage.

Coverage
Foundations come in different coverage levels:
- Light coverage is perfect for those who want a natural, barely-there look. It evens out skin tone while letting your natural skin peek through.
- Medium coverage strikes a balance, covering blemishes and uneven tone without looking too heavy.
- Full coverage is best for those who want to completely cover imperfections like redness, acne, or hyperpigmentation.
Undertone Matters
When selecting a foundation shade, pay attention to your skin’s undertone. Foundations are generally categorized as warm, cool, or neutral. Here’s a quick tip: If your veins appear more blue, you likely have a cool undertone. If they look greenish, you have a warm undertone. If they appear to be a mix of both, you’re likely neutral.

3. Applying Your Foundation
Now that you’ve prepped your skin and chosen your foundation, it’s time for application. The way you apply your foundation can make or break the look, so here’s a step-by-step process to get that flawless finish:
Tools of the Trade
You can use different tools to apply foundation, and each has its benefits:
- Brushes: A dense foundation brush provides fuller coverage and helps you buff the product into your skin for an airbrushed finish.
- Sponges: A damp makeup sponge (like a beauty blender) is great for achieving a more natural, dewy finish. It’s also perfect for blending out any harsh lines or excess product.
- Fingers: Your fingers are great for applying foundation in a pinch, especially if you’re aiming for a natural look. The warmth of your fingers helps blend the product seamlessly into your skin.
The Application Process
Start by dotting your foundation in small amounts on your forehead, cheeks, nose, and chin. Using your tool of choice, blend the foundation outward and downward. Always blend down toward your neck to avoid any harsh lines or color discrepancies.
If you need extra coverage in certain areas (like blemishes or redness), use a small brush or your fingers to gently pat extra foundation on those spots.
4. Concealing Imperfections
Concealer is your secret weapon for a flawless base, especially when it comes to hiding dark circles, blemishes, or redness. Like foundation, concealers come in different formulas and coverages:
- Liquid concealers are versatile and can be used under the eyes or on blemishes. They provide buildable coverage and are easy to blend.
- Cream concealers offer fuller coverage and are great for covering larger blemishes or dark spots.
When applying concealer under the eyes, use a shade that’s one to two shades lighter than your foundation to brighten that area. For blemishes or redness, use a concealer that matches your foundation exactly for a seamless blend.
Apply your concealer in a small triangle shape under your eyes and blend it out with a sponge or your fingers. For blemishes, dab the concealer onto the spot and blend the edges, being careful not to wipe away too much coverage.

5. Setting Your Base
To keep all your hard work intact, setting your makeup is essential. Here’s how you can ensure your makeup stays in place all day:
Setting Powder
Setting powder helps lock in your makeup and reduce shine. It’s especially important for those with oily skin or anyone who wants their makeup to last through heat and humidity. You can choose from:
- Translucent powder: Ideal for all skin tones, it sets makeup without adding extra coverage or color.
- Tinted setting powder: This type of powder adds a bit of coverage and helps even out your complexion.
Use a fluffy brush to dust setting powder over your T-zone and any areas prone to oiliness or creasing, like under the eyes or around the mouth.
Setting Spray
Setting spray is a great finishing touch that melts all the layers of your makeup together and gives a natural, skin-like finish. There are setting sprays for different finishes, including matte, dewy, and long-lasting formulas. Hold the bottle at arm’s length and lightly mist your face to lock in your look.
6. Contouring and Highlighting
Contouring and highlighting add dimension to your face, bringing out your natural bone structure and giving your face a sculpted look.
Contouring
Contour products come in powder, cream, or stick form. Choose a shade that’s two to three shades darker than your natural skin tone. Apply contour to the hollows of your cheeks, along your jawline, and on the sides of your nose for definition. Blend it out well to avoid harsh lines.
Highlighting
Highlighter brings light to your face, adding a healthy glow. Apply it to the high points of your face where light naturally hits—such as the tops of your cheekbones, down the bridge of your nose, and on your cupid’s bow. A subtle highlight can make your skin look radiant and fresh.

7. Blush for a Natural Flush
Blush is the final touch to your flawless base. It adds a healthy flush to your cheeks, making you look more awake and vibrant. Powder blush is the most common, but cream blushes can also give a beautiful, dewy finish.
Apply blush to the apples of your cheeks and blend it back toward your temples for a natural look. Be sure not to go overboard; it’s always easier to add more than to take away!

8. Touching Up Throughout the Day
Even with the best products and techniques, your makeup can start to fade as the day goes on. Here are some tips for keeping your base flawless all day:
- Blotting papers: Great for absorbing excess oil without disturbing your makeup.
- Powder compact: A quick dusting of powder can refresh your makeup and reduce shine.
- Mini setting spray: A travel-size setting spray is perfect for reviving your makeup throughout the day.
Conclusion
Achieving a flawless makeup base is all about preparation, choosing the right products for your skin type, and applying them with care. With the right techniques and a bit of practice, you’ll be able to create a smooth, long-lasting base that enhances your natural beauty. Remember, makeup is personal, and what works best for you will depend on your unique skin type and preferences. So don’t be afraid to experiment.